Ebonised & gilded Ash bowl


I got round today to trying some silver gild wax on this ebonised Ash bowl, i started with an Ash blank fixed to the lathe via a face plate.


The base shape of the bowl was turned including a spigot to allow the bowl to be reversed & held on the lathe by chuck jaws in expansion mode.


With the base sanded & a coat of cellulose sanding sealer applied the bowl was reversed chucked, the top shape of the bowl turned, sanded & sealed. I then masked the small bowl ready for spraying.


The rim was then sprayed with Chestnut`s ebonising spray.


The masking tape was removed, a little sanding was necessary then the gild wax was applied to the grain.


Finally a few photos of it polished.


Large apple


I`ve found oversized apples quite popular, perhaps because they are bigger they hold there own better when used as a stand alone piece.
This is how i went about making the spalted Beech apple above.

I started with a 4 1/4" roughly square blank, my first job was to find the center.


Once this was done it was over to the pillar drill to make a pilot hole for the screw chuck.


Next i made a new screw chuck, whenever i have a piece of wood left over from a project that is held in the chuck, i part off the front & put it to one side ready for making into a screw chuck.
Like the piece of Oak below, all i needed to do was fit it in the jaws, true up the face & drill a hole for the screw.


That done, the Oak was removed from the chuck & a screw inserted from the back, a little super glue was applied to the screw head to help keep it secure.


I was then ready to screw this to the pre-drilled blank, mount it back in the chuck jaws & turn the blank down, shaping the top of the apple. With this done a drill chuck & bit was placed in the tail stock & a second pilot hole drilled in the opposite end of the apple.


The blank was then reverse chucked & the bottom of the apple turned to shape.


This was then sanded & put to one side ready for polishing. Next pin jaws were put on the chuck to hold a couple of off cuts of blackwood to turn the calyx & stem.


The three pieces were then polished & the calyx & stem glued into the apple.


Gilded Vase


I`ve been experimenting with colouring & decided to try wax gilding in open grain.
My choice of timber was oak, but Ash or any other open grained wood will do. As this was my first attempt, i decided to turn a simple vase shape 5 1/2" high By 2 1/2" across.


This was sanded on the lathe to 800 grit, then parted off & the dust in the grain pours removed with a stiff tooth brush.


Once happy the dust was removed, the vase was coated with 3 coats of Chestnut black spirit stain.


When this was dry the gold gild wax was rubbed sparingly over the vase, this operation needed to be done quickly. the excess being removed with a cloth before it had time to dry on the surface, I only wanted the gold to show in the grain.


The vase was then re-mounted on the lathe attached by a jam chuck, where 2 coats of Chestnut microcrystalline wax was applied.


Finally polished & buffed.


Mallet making


This mallet was made for a cabinet maker friend who very kindly gave me some large pieces of beech as it had begun to spalt. The head of the mallet is made from this beech, i chose a piece with minimal spalting, which was still sound, the handle is made from Maple.
The following photos show the process of making the mallet.

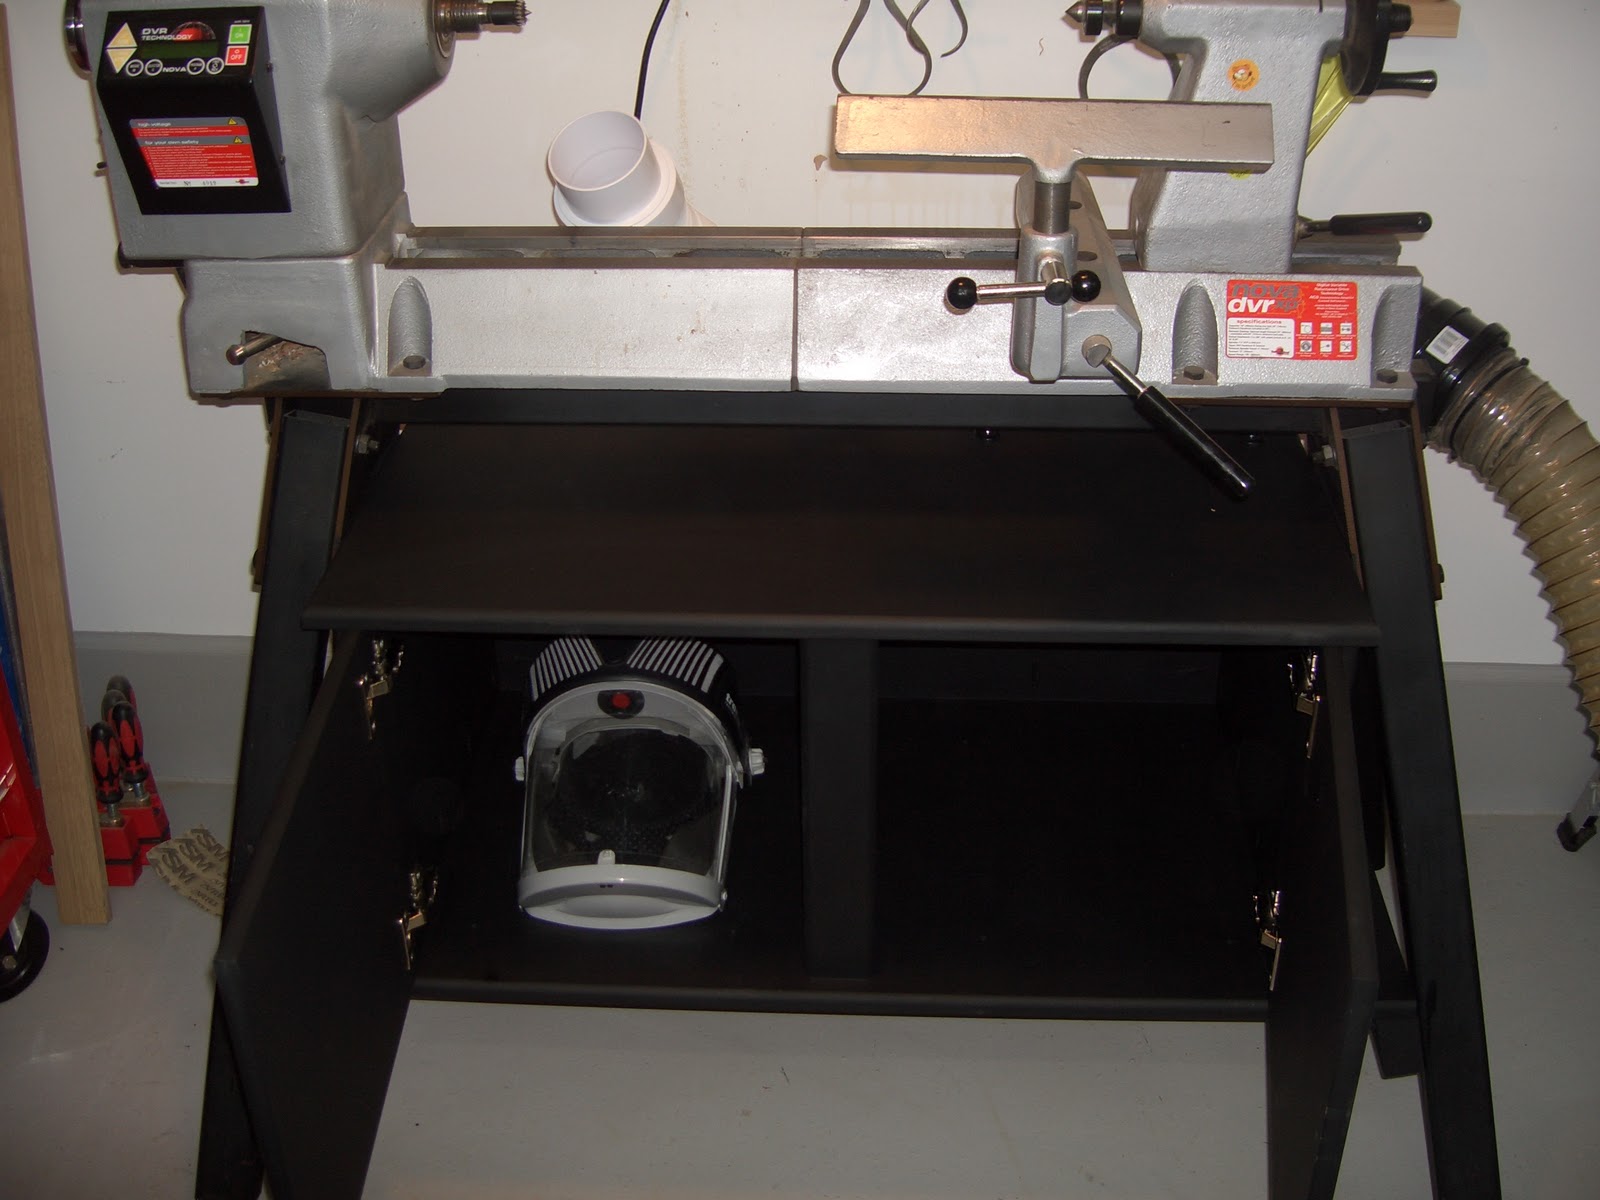
First a piece of beech was mounted between centers on the lathe.


This was then turned to the rough shape of the mallet head, a tenon was also formed to enable the head to be held in a chuck.


Next the head was mounted in a chuck, the waste from the bottom end parred off & an inch hole drilled into the bottom of the head.


As the drill wasn`t long enough to pass all the way through the head it was necessary to change the chuck jaws for pin jaws, reverse the head & drill from the top of the head.


At this point the head was sanded & put to one side. The handle was the next, a piece of Maple was fixed between centers, a tenon was cut to fit the mortice hole in the head, the handle shaped & 4 burn lines added for decoration.


The handle was then reversed, the mortise being held in pin jaws so the waste could be parred off & the handle sanded.


Over to the bandsaw & a cross was cut into the top of the tenon.


Whilst at the bandsaw 4 Blackwood wedges were cut with the aid of a piece of mdf cut at 10 degrees.


Finally the head & handle were assembled, the wedges glued & hammered in.


The mallet completed all that was left was to apply a couple of coats of oil.

Pens

Acrylic


Bog Oak


Corian


Teak & Pink Ivory


Coccobolo & Black wood


London plane & Masur Birch


Sapele & Maple brick pen


Corian


Maple & sapele brick pen

Tools

Over the last few years i`ve made a selection of handles & tools here are a few along with a couple of photos of my lathe.


Articulated hollowing tool made from steel bar & Hamlets little brother cutting tip & shield.


Apple wood handles on 2 spindle gauges & Ash handle (middle) ready for a parting blade.


Oak & Ash mallet, Ebony & Beech hammer


Beech handles


This is my lathe, I added the storage not only for the added bonus of a place to keep things lathe related, but also as it`s made from a sheet & a half of 18mm MDF so adds a lot of stability. The dust extraction is via a 4" soil pipe to a large 2200 litre per minute extractor, the intake is a 4" flexible toilet connecter that enables me to get the extraction as close as possible to the work piece.